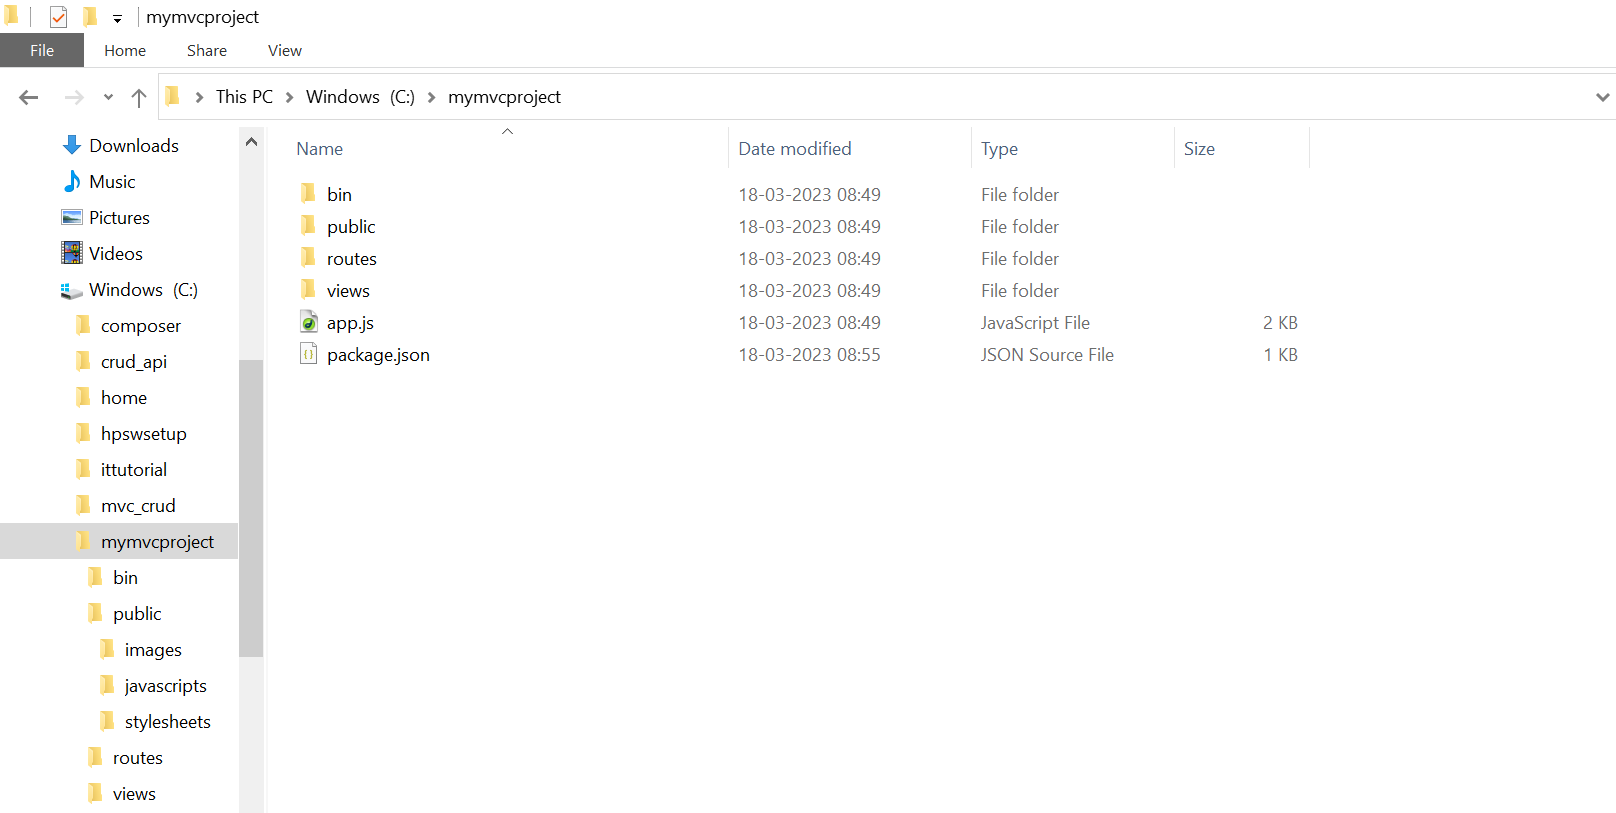
List of npm modules
npm modules :-
File Name :
c:\project_name> npm init -y
c:\project_name> npm install
c:\project_name> npm install express-flash --save
c:\project_name> npm install express-session --save
c:\project_name> npm install express-validator --save
c:\project_name> npm uninstall express-validator
c:\project_name> npm install express-validator@5.3.0
c:\project_name> npm install method-override --save
c:\project_name> npm install mysql --save
c:\project_name>npm install body-parser
c:\project_name>npm install -g nodemon
c:\project_name>npm install morgan --save
c:\project_name>npm install express cookie-parser --save
c:\project_name>npm install helmet --save
c:\project_name>npm install multer
c:\project_name>npm install moment (for date formating)
c:\project_name> npm install slug
c:\project_name>npm install bcrypt
c:\project_name>npm install --save sweetalert2
c:\project_name>npm install nodemailer
c:\project_name>npm install rand-token --save
c:\project_name>npm install date-and-time
c:\project_name>npm install buffer
c:\project_name>npm install exceljs
c:\project_name>npm install html-pdf
c:\project_name>
npx express --view=ejs project_name
File Name : mymvcproject

npm init -y
First Go on project directory.
c:\mymvcproject> npm init -y
This command creates a package.json file.
File Name :
npm install
c:\mymvcproject> npm install
This command creates a node_modules directory in your project directory and also create all library of node_modules.
File Name :
Set Debug :-
cors
File Name :
it is a mechanism that uses additional HTTP headers to tell browsers to give a web application running at one origin, access to selected resources from a different origin.
dotenv
File Name :
it store all of our environment variables. This is where we will store our email variables.
multer
File Name :
Multer is a node.js middleware for handling multipart/form-data, which is primarily used for uploading files.
Method-override
File Name :
NPM is used to run a DELETE and PUT method from an HTML form. In several web browsers only support GET and POST methods.
Access Global Scope
In Node.js, global object represents the global scope.
To add something in global scope, you need to export it using export or module.export. The same way, import modules/object using require() function to access it from the global scope.
For example, to export an object in Node.js, use exports.name = object
console: function(msg) {
console.log(msg);
},
file: function(msg) {
// log to file here
}
}
Now, you can import myRouter object using require() function and use it anywhere in your Node.js project.
Export Module in Node.js
The module.exports is a special object which is included in every JavaScript file in the Node.js application by default. The module is a variable that represents the current module, and exports is an object that will be exposed as a module. So, whatever you assign to module.exports will be exposed as a module.
Example :-
File Name : myrouter.js
export myRouter.js page on app.js file
Now, import this myRouter module and use it as shown below.
File Name : app.js
console.log(msg);
output :-
Hello Sana
Export Object
The exports is an object. So, you can attach properties or methods to it.
File Name : myrouter.js
//or
module.exports.SimpleMessage = 'Hello Sana';
we have attached a property SimpleMessage to the exports object.
the require() function will return an object { SimpleMessage : 'Hello Sana'} and assign it to the msg variable. So, now you can use msg.SimpleMessage.
File Name : app.js
console.log(msg.SimpleMessage);
output :-
Hello Sana
File Name : data.js
firstName: 'Sana',
lastName: 'Mahtab'
}
File Name : app.js
console.log(person.firstName + ' ' + person.lastName);
Export Function
File Name : myrouter.js
console.log(msg);
};
File Name : app.js
msg('Hello World');
Export Function as a Class
File Name : person.js
this.firstName = firstName;
this.lastName = lastName;
this.fullName = function () {
return this.firstName + ' ' + this.lastName;
}
}
File Name : app.js
var person1 = new person('Sana', 'Mahtab');
console.log(person1.fullName());
File Name : Datainfo.js
info: function (info) {
console.log('Info: ' + info);
},
warning:function (warning) {
console.log('Warning: ' + warning);
},
error:function (error) {
console.log('Error: ' + error);
}
};
module.exports = myData
File Name : app.js
myLogModule.info('Node.js started');
Previous Next
Trending Tutorials
0.0 / 5
0 Review
 Why use node.js